
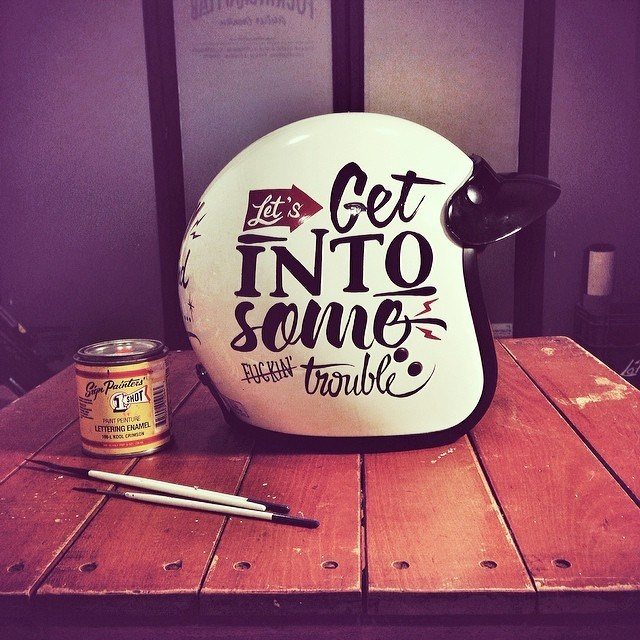
Step By Step Guide for Your Motorcycle Helmet Painting
Beginner motorcycle riders frequently claim that they won’t wear helmets because they are unattractive. Don’t even start me on why that is one of the silliest excuses I’ve ever heard. The argument is that manufacturers of traditional motorcycle helmets are too concerned with functions and safety to pay attention to how cool their products appear.
Riders either choose not to wear helmets (where doing so is not compulsory by law) or purchase attractive but subpar helmets as a result. both undesirable.
In this essay, I won’t discuss the advantages of wearing a wonderful motorcycle helmet; instead, I’ll concentrate on how to make the most of the situation if you already own a “ugly” helmet that you want to turn into something awesome. You can tell from the title of this post that our main concern is with painting motorcycle helmets.
Option 1: The easiest type of motorcycle helmet painting
Preparation
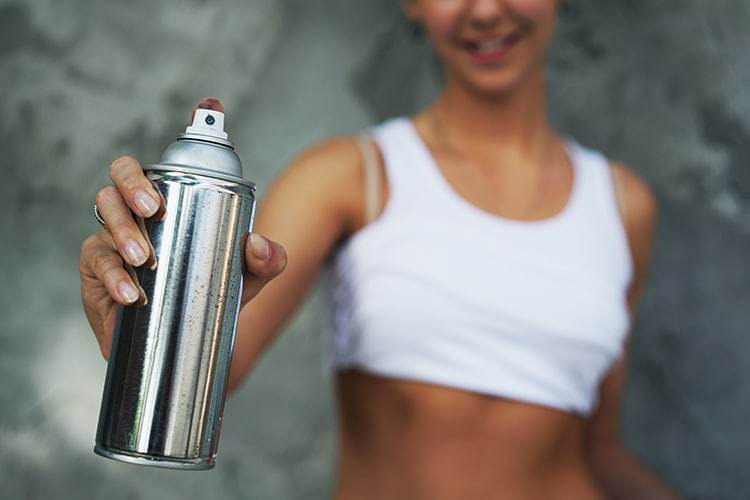
- Painter’s tape Airbrush gun or paint spray
- Paint with your favourite colour (water paint)
- Old big newspaper
- A raincoat to avoid paint splash over your clothes
- A sticking-plaster
- Flexible stencils (optional)
- Markers and paintbrushes
Step 1:
Put on the raincoat and cover any areas you don’t wish to paint with sticking plaster. Place your motorcycle helmet on the ground after opening an old, large newspaper.
Step 2:
using a paint spray or airbrush and painter’s tape. You must then wait for the paint to dry, which should take 20 minutes.
Step 3:
Draw the skeleton of your artwork, which is based on your thoughts, using markers after the paint has dried.
Step 4:
painting your motorcycle helmet with water paint and paintbrushes in a skeleton-like pattern. This is the trickiest phase because if you make a mistake, your ideas will become hazy. It also takes good drawing skills. You must wait for the paint to dry in this phase for at least 2 or 3 hours.
Step 5:
After some time has passed, you must spray transparent paint (without any colour) to give your motorcycle helmet a smooth, glossy surface. Additionally, you must wait for 20 minutes.
Step 6:
Taking off the sticking plaster ensures that everything is finished and ready for wear.
Type 2 – The more advanced helmet painting option
Preparation
- Acrylic paint
- A pencil, a marker
- A paintbrush
Step 1:
The first step in establishing a colour foundation is painting the surface of the motorcycle helmet. However, unlike type 1, you do not have to paint the entire surface; instead, you can use the paintbrush to paint only the places you intend to draw on. You can choose whatever colour you want to use.
Step 2:
Using the pencil, sketch out your thoughts on the surface you just painted. If it is not entirely dry, this will not turn out well, so you must wait until you are certain that it is.
Step 3:
Adding multiple layers of colour to the skeletons to cover the paint from Step 1, but only after the previous layer has dried.
Step4:
redrawing the skeletons with the marker to make them more visible.
To summarise, we’d like to share with you two different styles of motorcycle helmet painting that can make them more attractive and make wonderful presents for friends, family, and other people.
Additionally, if you don’t have a lot of time, you can locate a lot of painting services online or purchase motorcycle stickers and decals from the various retailers to decorate your motorcycle helmet. Despite being more professional, especially when printed in 3D on motorcycle helmets, using painting services cannot bring us the same level of happiness as painting by hand.
We will have more worthwhile and thrilling experiences, which we will undoubtedly treasure more. Additionally, you should exercise caution when painting because paint can adhere to your palm or other parts of the motorbike helmet’s surface and ruin your creations. We wish you success and hope you succeed!
How to Paint a Motorcycle Helmet – Videos
How to paint your helmet : Step by step process of painting a motorcycle
How To Swirl Paint A Motorcycle Helmet
With the help of a can of Krylon Fusion white splay paint, two jars of Testor’s enamel paint, and a clear coat from a paint store, you can paint an old helmet to look completely personalised for under $30.
Plasti Dip Helmet – CHEAP HI-VIZ Motorcycle Helmet Option
How to Paint your own RED BULL Helmet in 14 Steps
Helmet Painting – How to Paint a Helmet?
Do you desire a hip helmet? If you’re anything like me, you want to assist your brother in getting a stylish helmet. Maybe all you want to do is hang out with your buddies and test your creative abilities. Or do you have another motivation for your helmet painting? Whatever your motivation, I’m here to help you use your creativity to the fullest extent. Let’s enjoy ourselves.
Have you ever considered the factors that are crucial when painting your helmet? Or what ought to you focus on? I think it can be tough to know when to complete each step, and more importantly, in what order, if you are new to this.
It’s actually quite easy to understand why I chose to write about this subject. Although everyone desires a stylish helmet, not everyone is skilled at painting one. The good thing is that you will understand how to achieve it after reading this post. And perhaps you’ll take up that as a new interest. You will be familiar with everything you need to know about successful helmet painting once you have finished reading this article.
You get to decide which steps you want to take after I walk you through painting your helmet. It’s crucial to be aware that the same procedure can be used to paint various types of helmets, such as a motorcycle helmet or a football helmet.
What Will You Need?
For both types of helmet painting you will need the following items:
- Sandpaper or sanding block (sanding block is easier to control)
- Paints (spray or can)
- Clear coat (it is applied at the end of the process and it protects the color and enables it to stay beautiful for a long time)
- Some kind of stand to put your helmet on while painting (or whatever other option you have for making your helmet stable)
Optional:
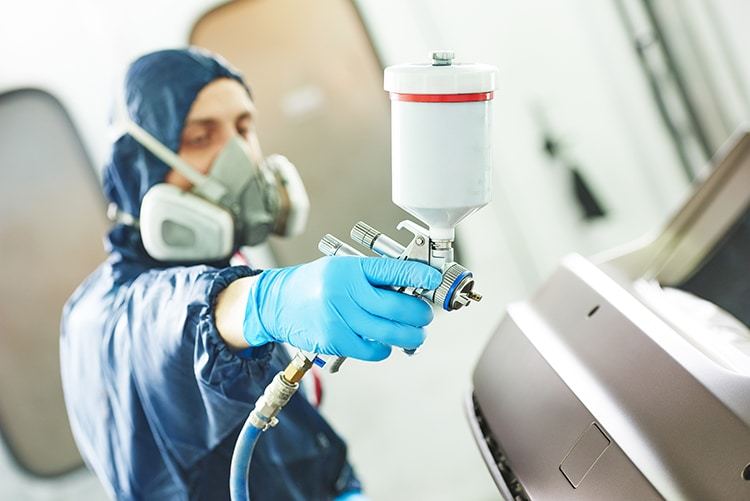
- Of course, the mask and gloves are optional but we would highly recommend you using them for safety purposes
- Primer (it is better to use it because of the long lasting effect)
- Guide coat (very useful coat if you are asking me)
- Spray guns (it is easier and faster to use unless you like to waste your time on other, less effective ways)
Hamlet Painting: Step by Step
STEP 1: Sanding
My motto is: The secret to success is a solid foundation. With this very first step, that is precisely what we aim for.
In order for the colour to match exactly later, you must first thoroughly sand the entire helmet, paying close attention to any venting, edges, and corners.
Second, it’s crucial to remove or flatten the stickers. Before continuing, just make sure everything is going smoothly enough.
STEP 2: Priming And Drying
Primer should be applied in two or three applications and left to dry overnight (if possible). When painting, a mask should be worn.
STEP 3: Optional: Guide Coat
Apply the guide coat first, then sand it smooth. Because the darker colour is applied over the lighter primer and vice versa, the guide coat makes it easier to spot highs and lows.
You should continue sanding it until it is flat after identifying the highs and lows. You should then clean it up with water and soap. Keep in mind that you should spray lightly and evenly; do not hurriedly complete the task. It is up to you whether to use two or three coats. However, we advise using three coats for the best results.
STEP 4: Optional: Base Coat
Evenly apply two or three coats. Simply move on to the next stage if you decide not to complete this one.
STEP 5: Paint On Your Color
We are currently approaching our objective. Choose your favourite hue, then evenly apply it. On your helmet, the hues navy, black, or red will look wonderful and cool. For the colour to look well, three coats would be the best. Before moving on to the following stage, make careful to let it dry completely. You’ve come this far, so don’t be impatient and skip waiting for that colour to really dry.
STEP 6: Clear Coat
This action is crucial. Do not undervalue it because it helps to protect the work you just completed. You may choose between the matte and shiny versions, but I think the matte version is strangely cooler. After two coats, allow it to dry.
STEP 7:
Finally! You succeeded. It’s time to take in the scenery now. Please accept my congratulations on this fantastic helmet art. You can also demonstrate it to your loved ones and friends. They will be in awe of what you just did, I assure you. There is no need to be reserved in that regard. Well done!
Finally, feel free to look over some of the advice we have for starting a project of this nature.
Tips:
- How to paint the vents perfectly? If you want to do that correctly, you should tap from the inside.
- Do I have to sand helmet even if I want to spray paint matte? Yes, even if you want to spray paint matte you should sand it down because sanding helps the paint stick. You do not want to something goes wrong because of skipping that part.
- Using base coat is a good option when painting, because it helps in long lasting color effect.
Important – Safety First, At All Times!
It should go without saying, but it is crucial that you make sure all safety precautions are followed. It’s not technically a life-threatening activity, but there are certain undesirable outcomes that could occur.
Paint evaporations aren’t exactly healthy and can make you feel queasy, plus you risk cutting yourself. So make sure you have a mask and some work gloves on hand. You’re prepared to go and make that helmet sparkle with those two puppies!

Helmet Painting – Conclusion
There you have it, then. Whether you are painting the helmet for the first time or are experienced with the process and would like to add something new to it, the step-by-step guide is very simple and easy to grasp so that everyone can follow it.
While paying strict attention to the fundamental organisation of this manual, feel free to also incorporate some of your own originality. Since this is a painting, it is art. Additionally, the very nature of art is the expression of your innermost sentiments and emotions.
We sincerely hope you liked this tutorial. Please feel free to forward this post to your friends if you enjoyed it. Please feel free to comment as well.for more information visit our website
